
Part III – Drupal 7:
In Part I and II, Apache, PHP, MySQL were installed and configured. In Part III, Drupal 7 configuration is the focus. This information can be derived from Drupal 7 installation documentation. The reader is encouraged to review the documentation at www.drupal.org.
Update the FreeBSD 10 Ports Tree:
# portsnap fetch update
Update installed ports using portmaster:
# portmaster -ad
Drupal 7:
# cd /usr/ports/www/drupal7
# make install clean
php.ini:
Enclosed are the recommended php.ini settings in /usr/local/etc/php.ini:
memory_limit = 128M
Create MySQL Database:
To create a MySQL Database in a secure manner with phpMyAdmin, it is suggested to add a database user that has all the privileges to the new database, but none to any other databases or the server itself.
Create MySQL User:
- Sign into phpMyAdmin as the root user.
- Select the ‘Users‘ Tab then select ‘Add user‘
- In the ‘User Name’ Field, enter the User name you wish to use
- In the ‘Host’ Field section, select ‘Local‘ unless you are accessing this user and database from another server
- Enter a Password for the user
- Select ‘Go‘ to create the user
Create MySQL Database:
- Select the ‘Database‘ tab
- In the ‘Create database‘ section, enter the database name
- Select ‘utf8_general_ci’ under Collation pull down menu
- Click ‘Create‘
Assign privileges to the new database:
- Select the ‘Users‘ tab
- Locate the new user and click on ‘Edit Privileges‘
- Click the ‘Database‘ button next to the ‘Global‘ button
- In the ‘Add privileges on the following database(s):’ field, enter the name of the newly created database name
- Select ‘Go’
- Check the ‘Database-specific privileges’ Check All box
- Select ‘G0’
settings.php:
Drupal 7 installs a configuration file at /usr/local/www/drupal7/sites/default/settings.php. Before running the installation script, change its permissions. After the installation, restrict the permissions again.
# cd /usr/local/www/drupal7/sites/default
# cp -p default.settings.php settings.php
https.conf:
To configure Apache to point to the correct web site, the Document Root directive needs to be modified as follows. Please edit /usr/local/etc/apache24/httpd.conf and change the following:
DocumentRoot "/usr/local/www/drupal7"
<Directory "/usr/local/www/drupal7">
Options Indexes FollowSymLinks MultiViews
AllowOverride All
Installation Script:
To run the Drupal install script, point your browser to the base URL of your web site. In most cases, it will be http://your-domain-name.com or http://your-ip-address. If you experience the install script not executing using the base URL, append /install.php to the end of the base url for example http://your-domain-name.com/install.php.
After running the installation script, you will be guided through several pages.
1. Standard or Minimal Installation:
The first page gives the user a choice between Standard or Minimal Installations. Most will choose Standard Installation. The Minimal Installation is geared to more advanced users with specific needs.

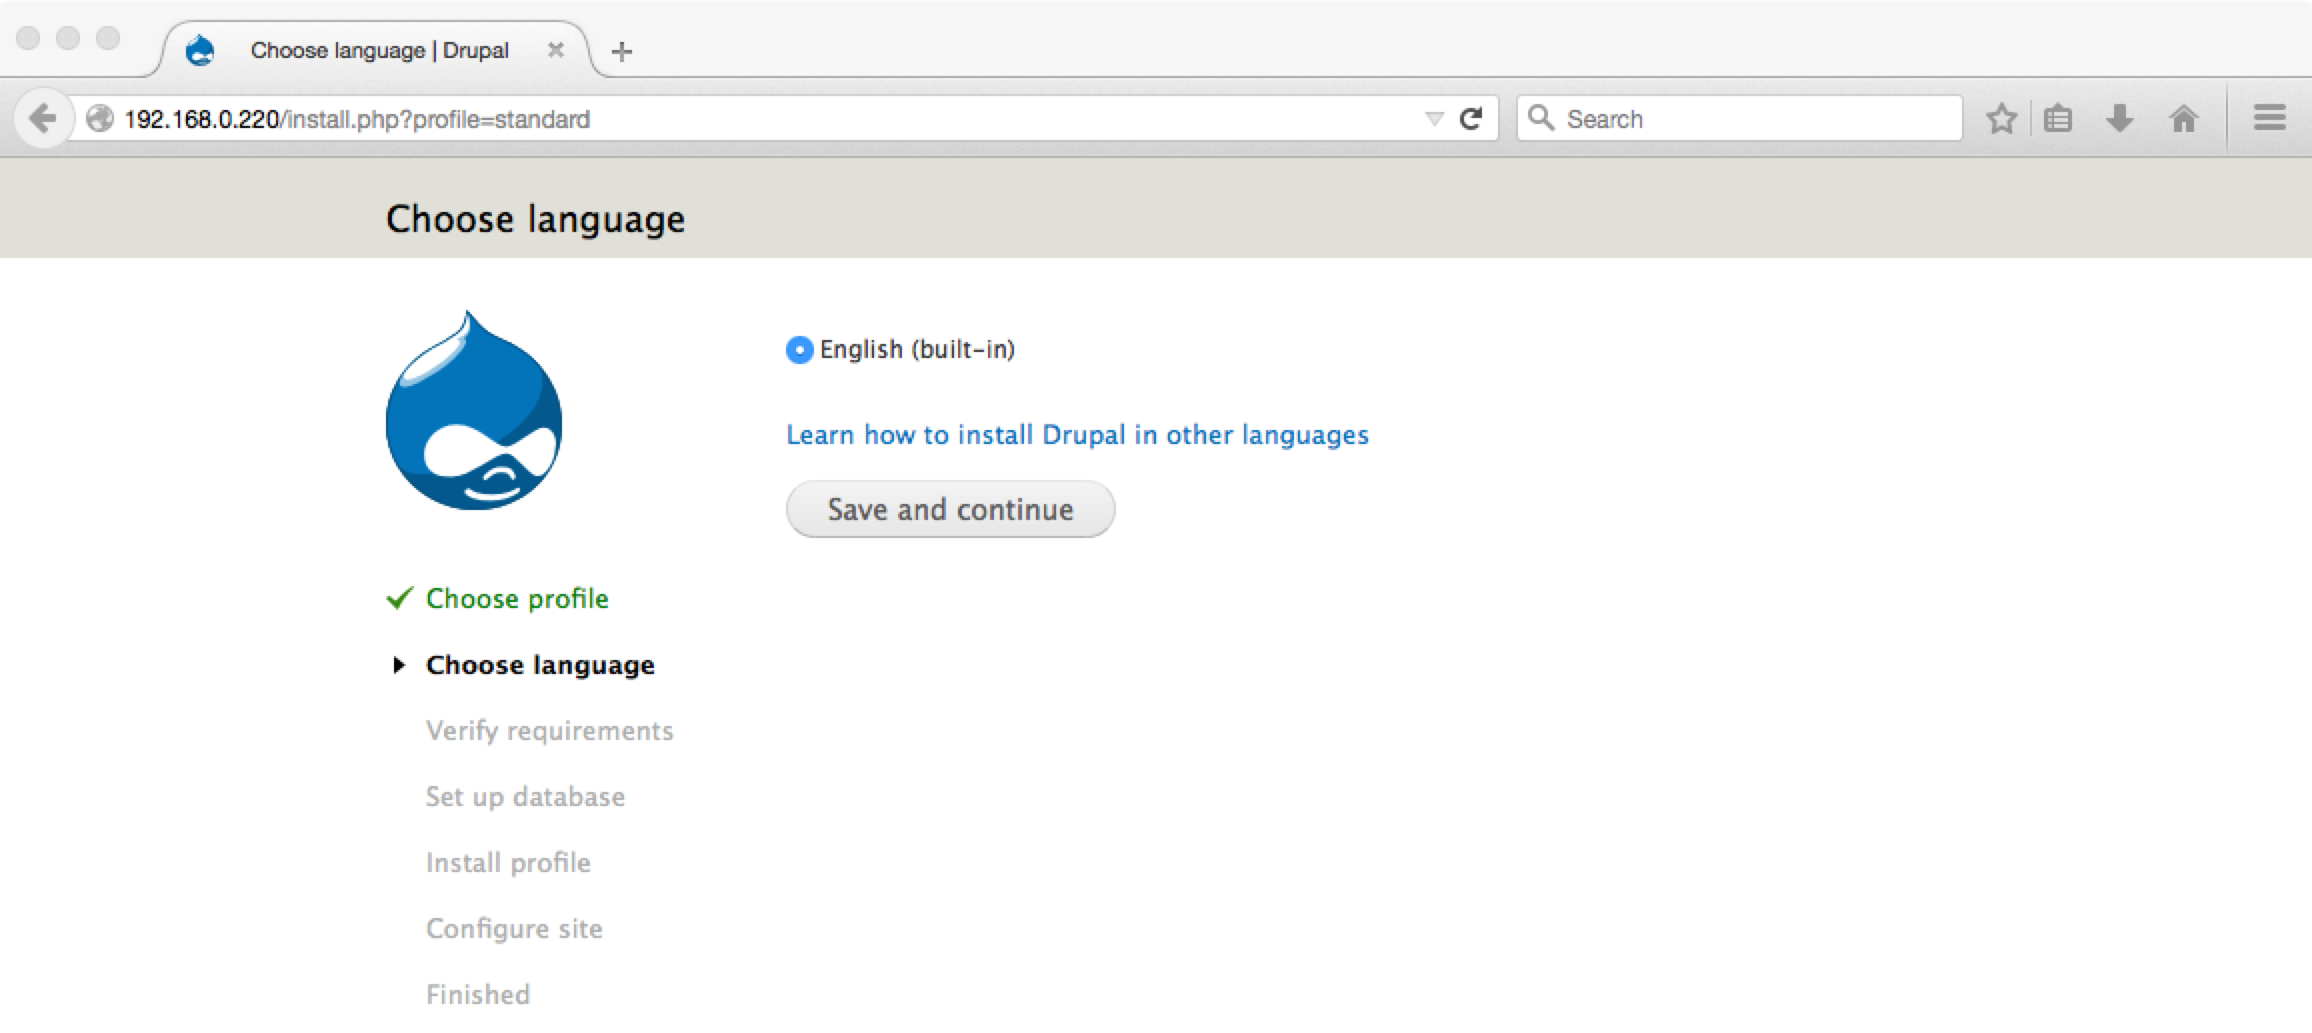
2. Choose Language:
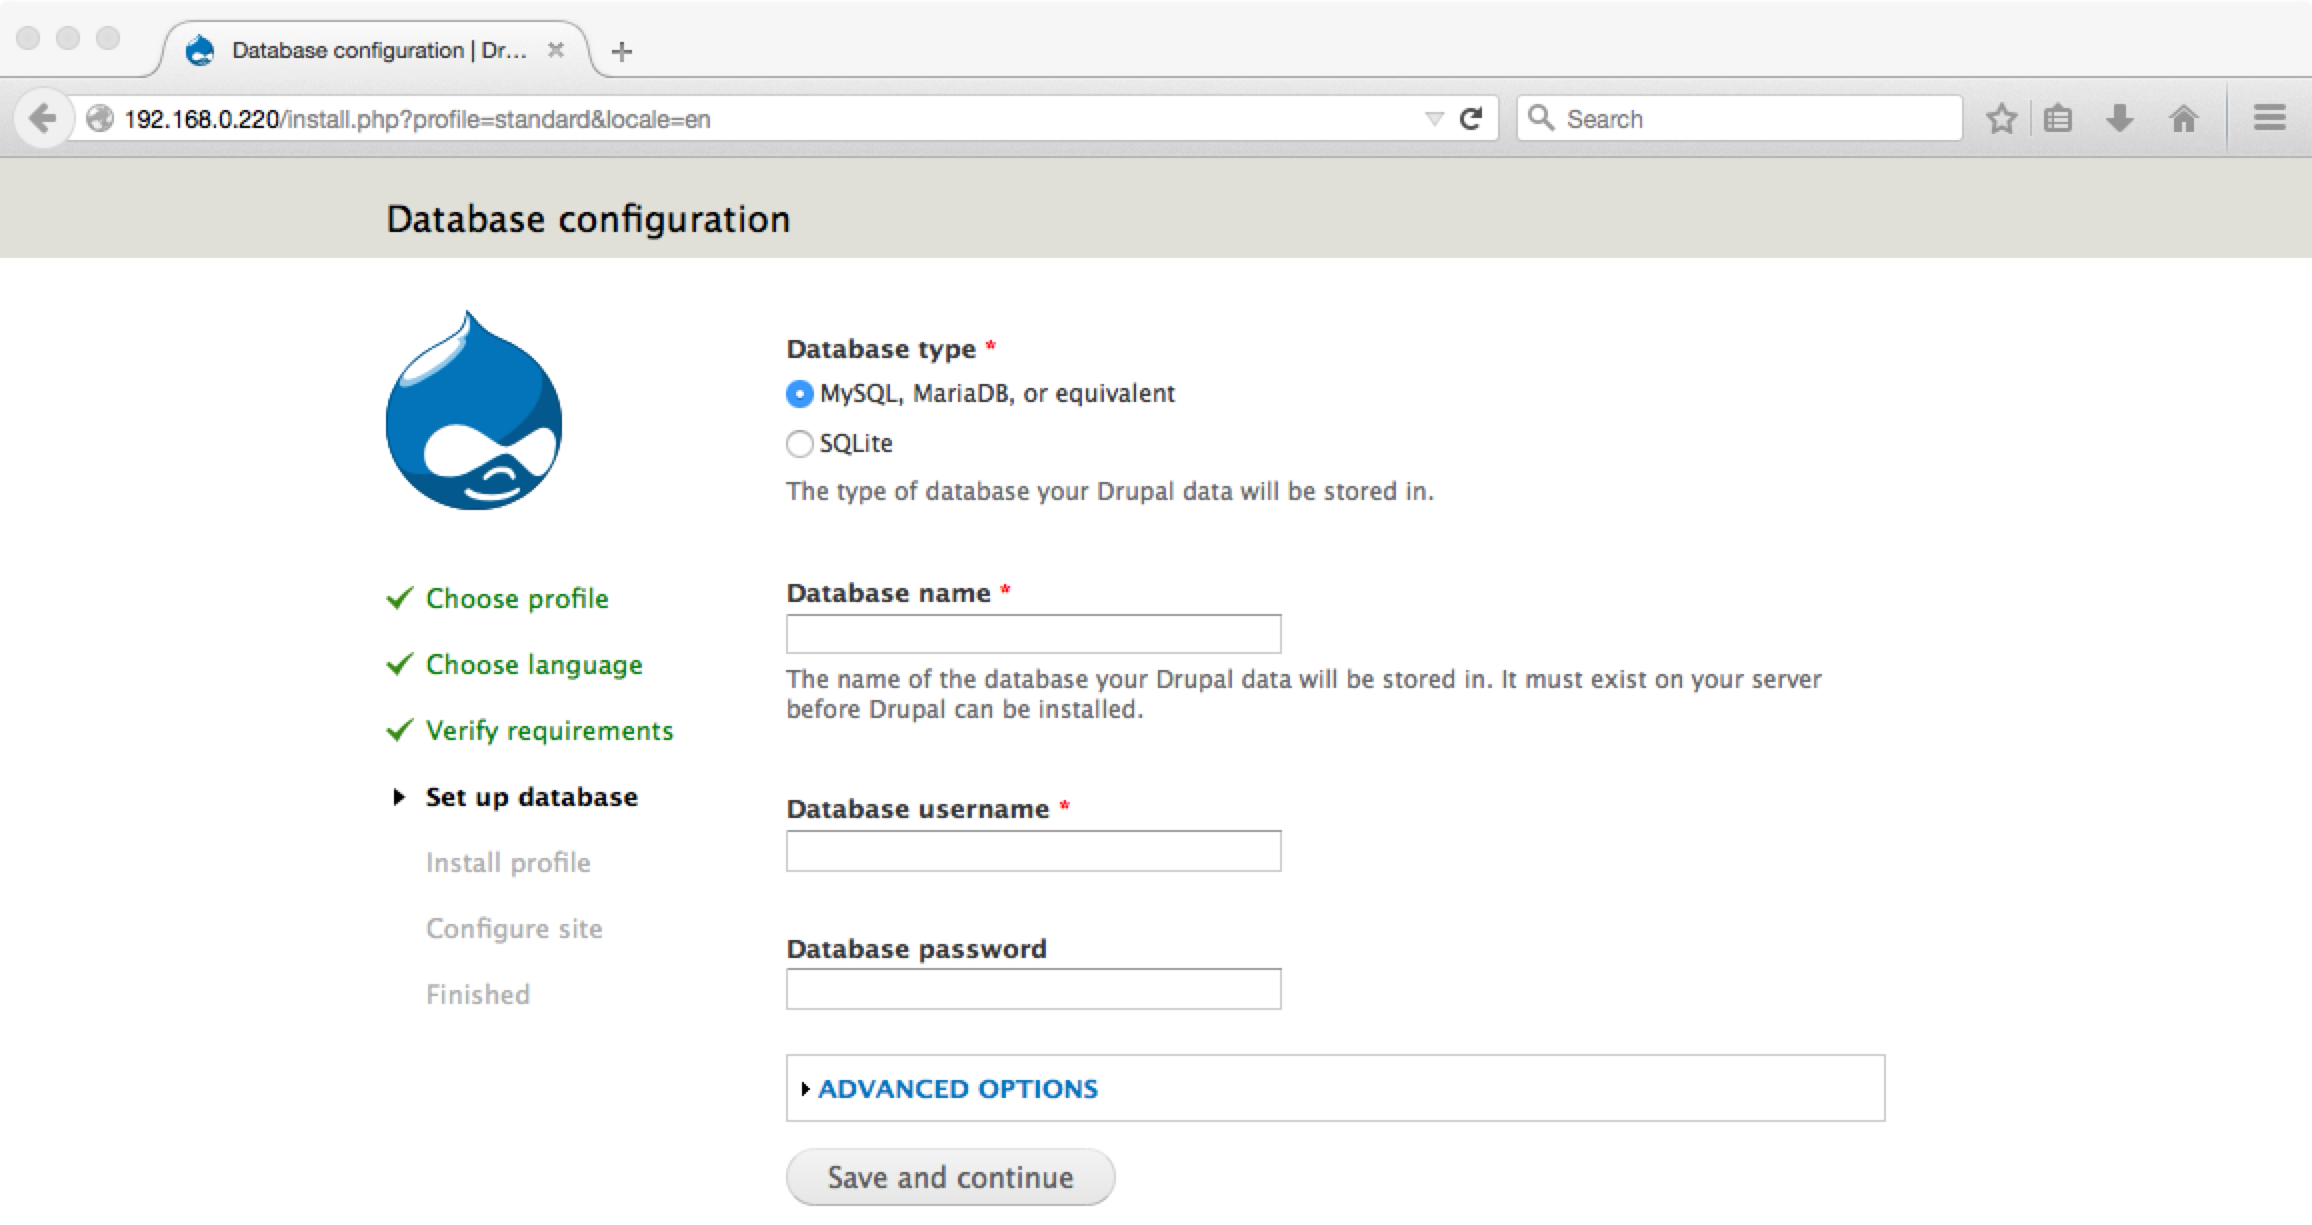
3. Database Requirements:
Enter Database Name, Username, and Password Information.
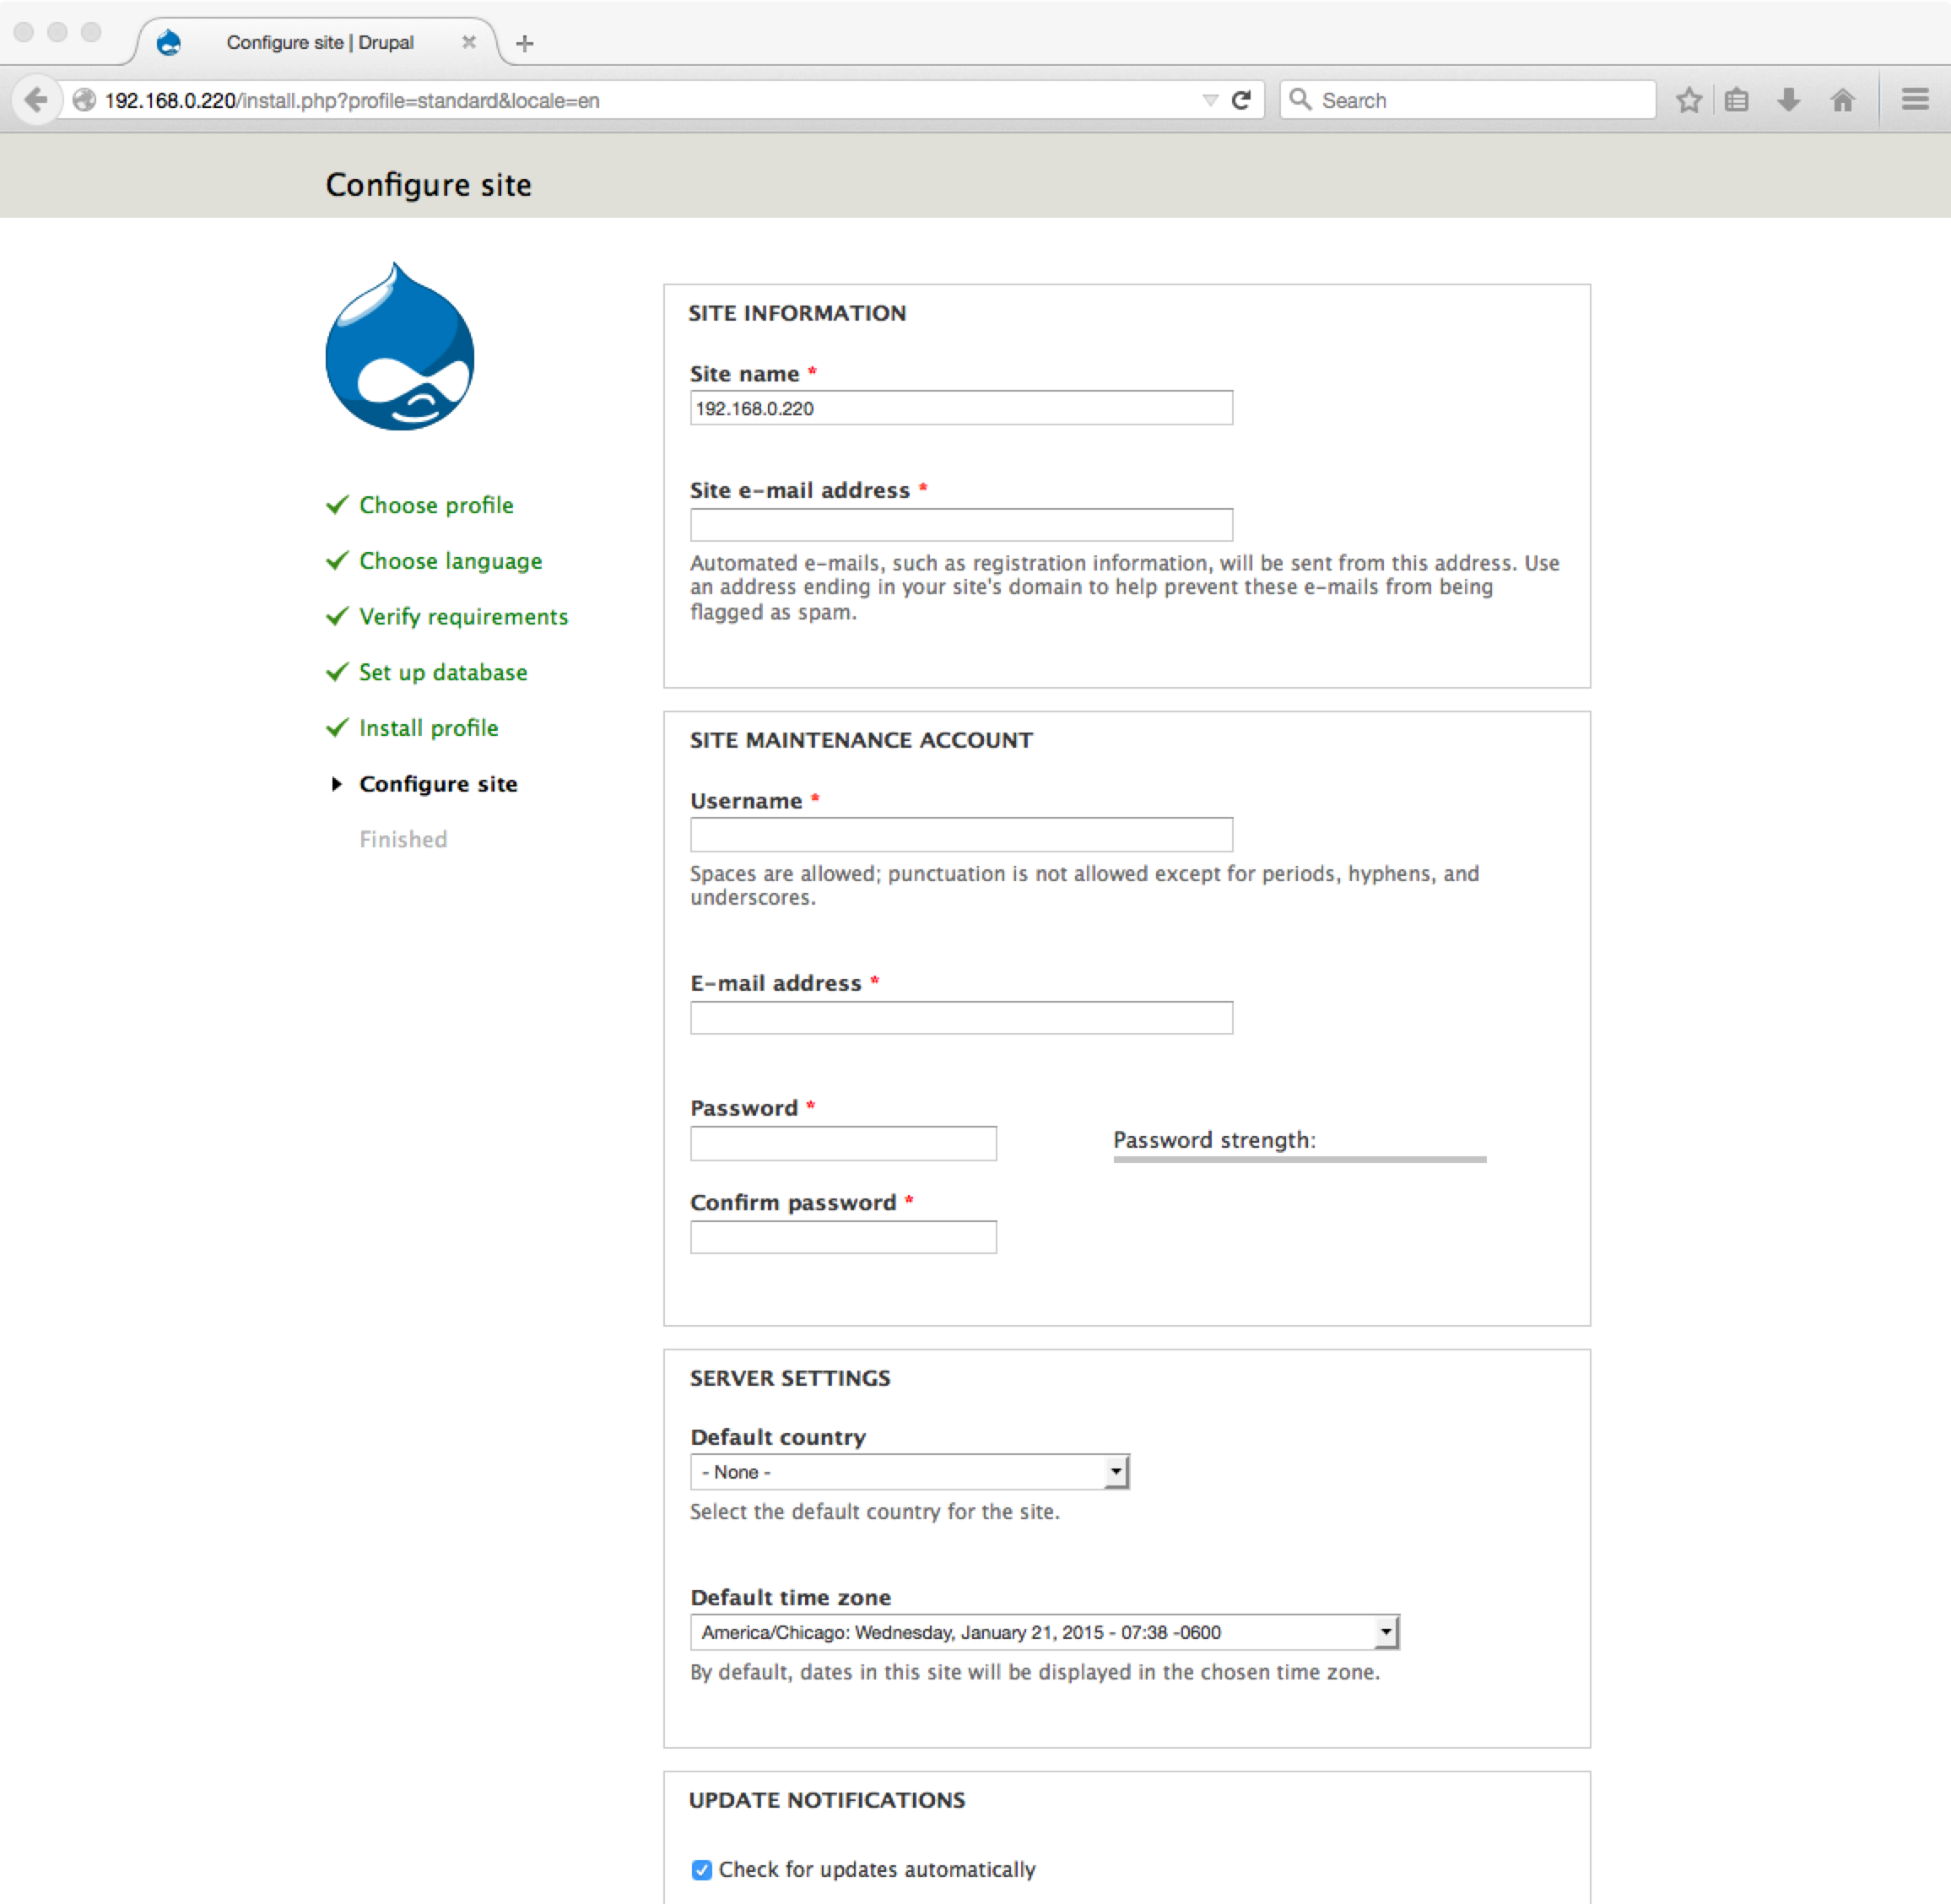
4. Site Information:
Enter the required site information:
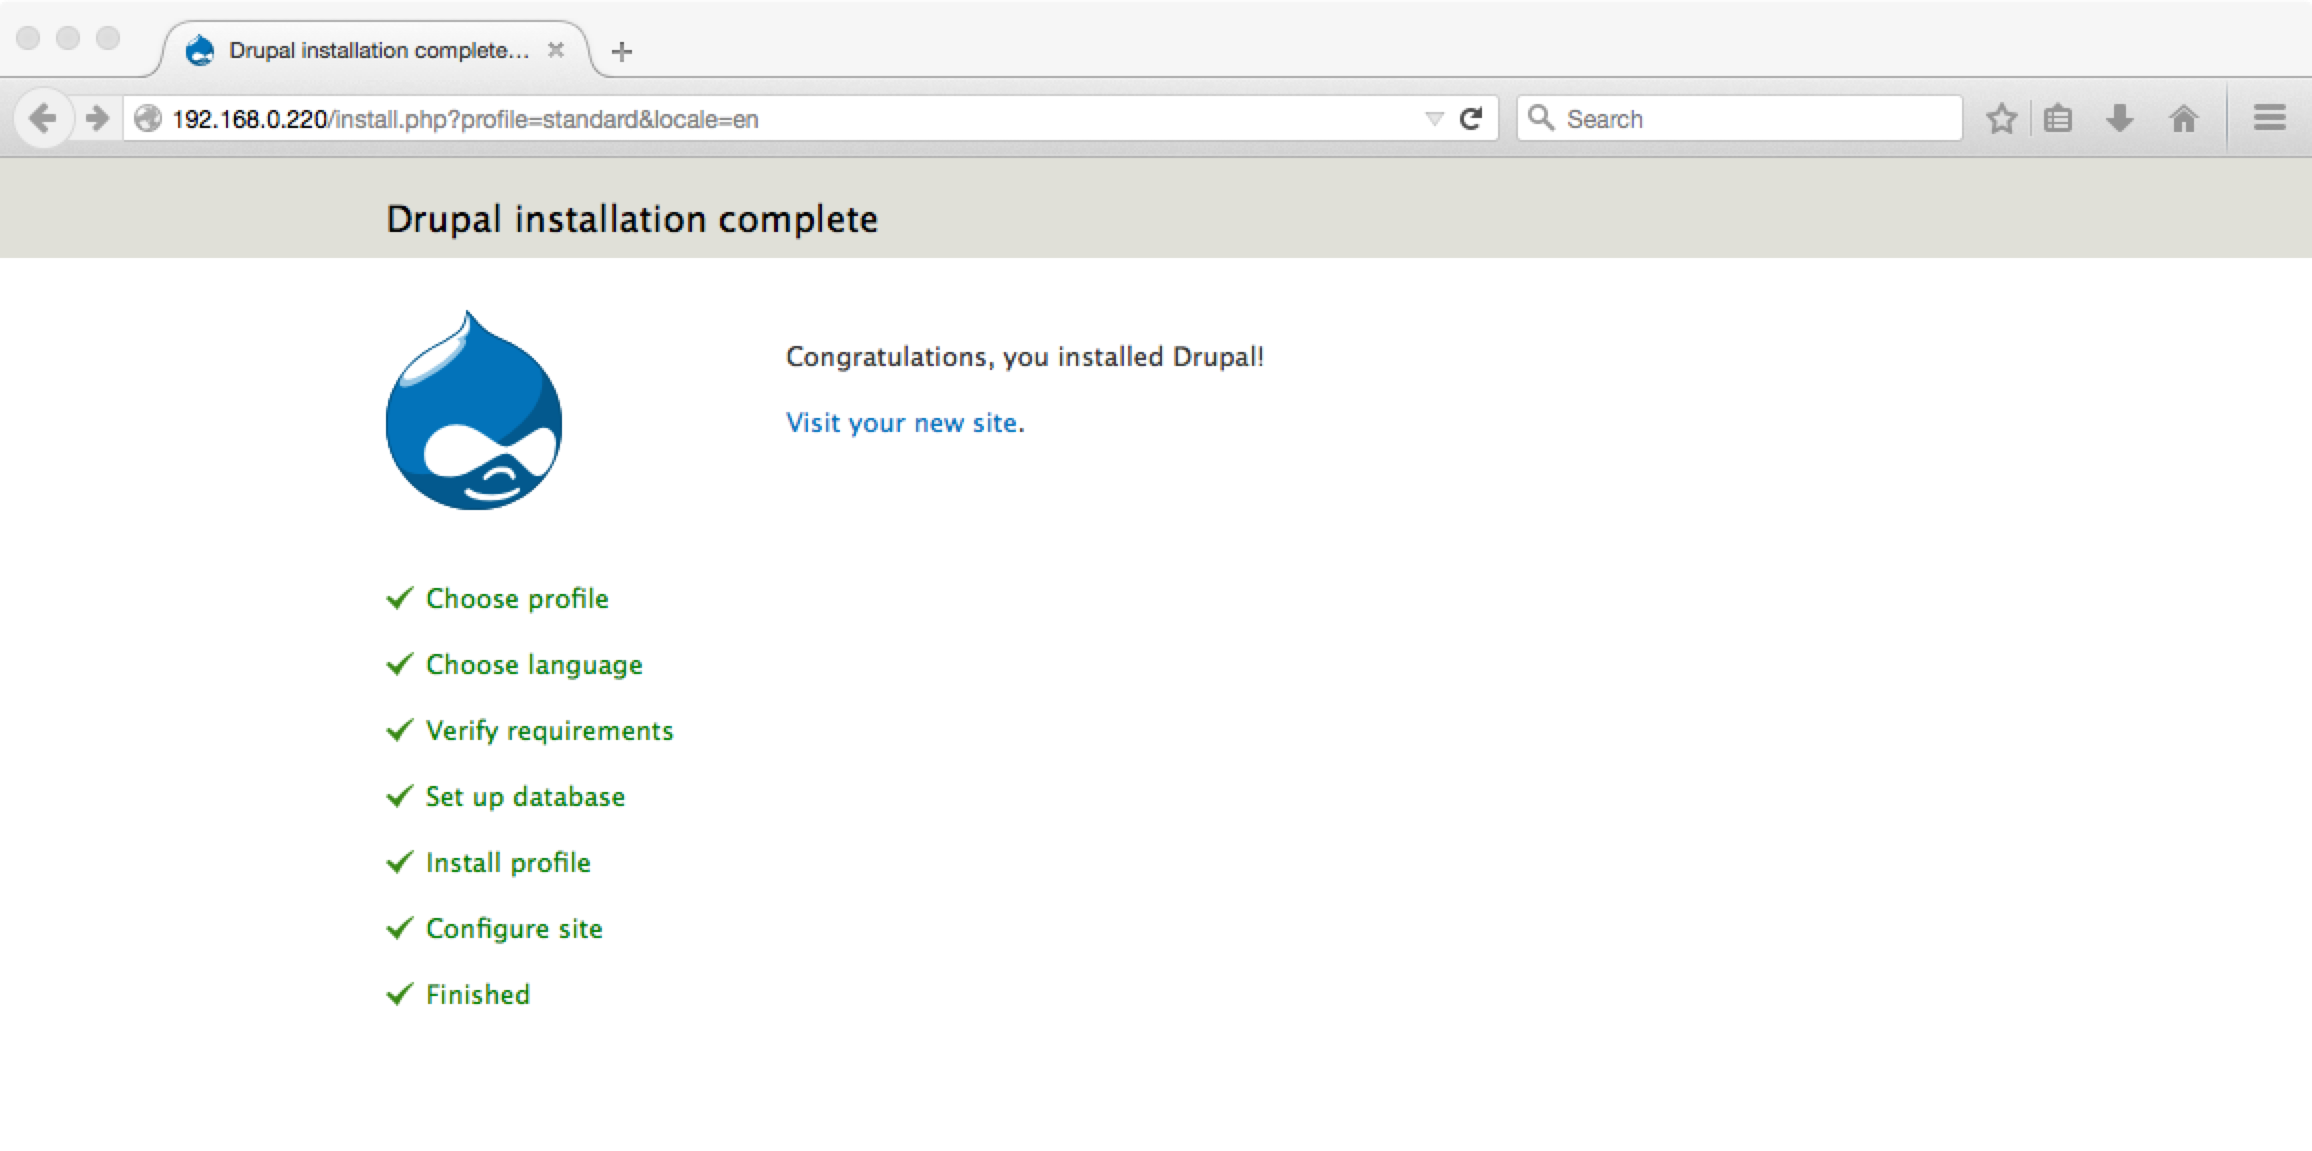
5. Installation Complete:
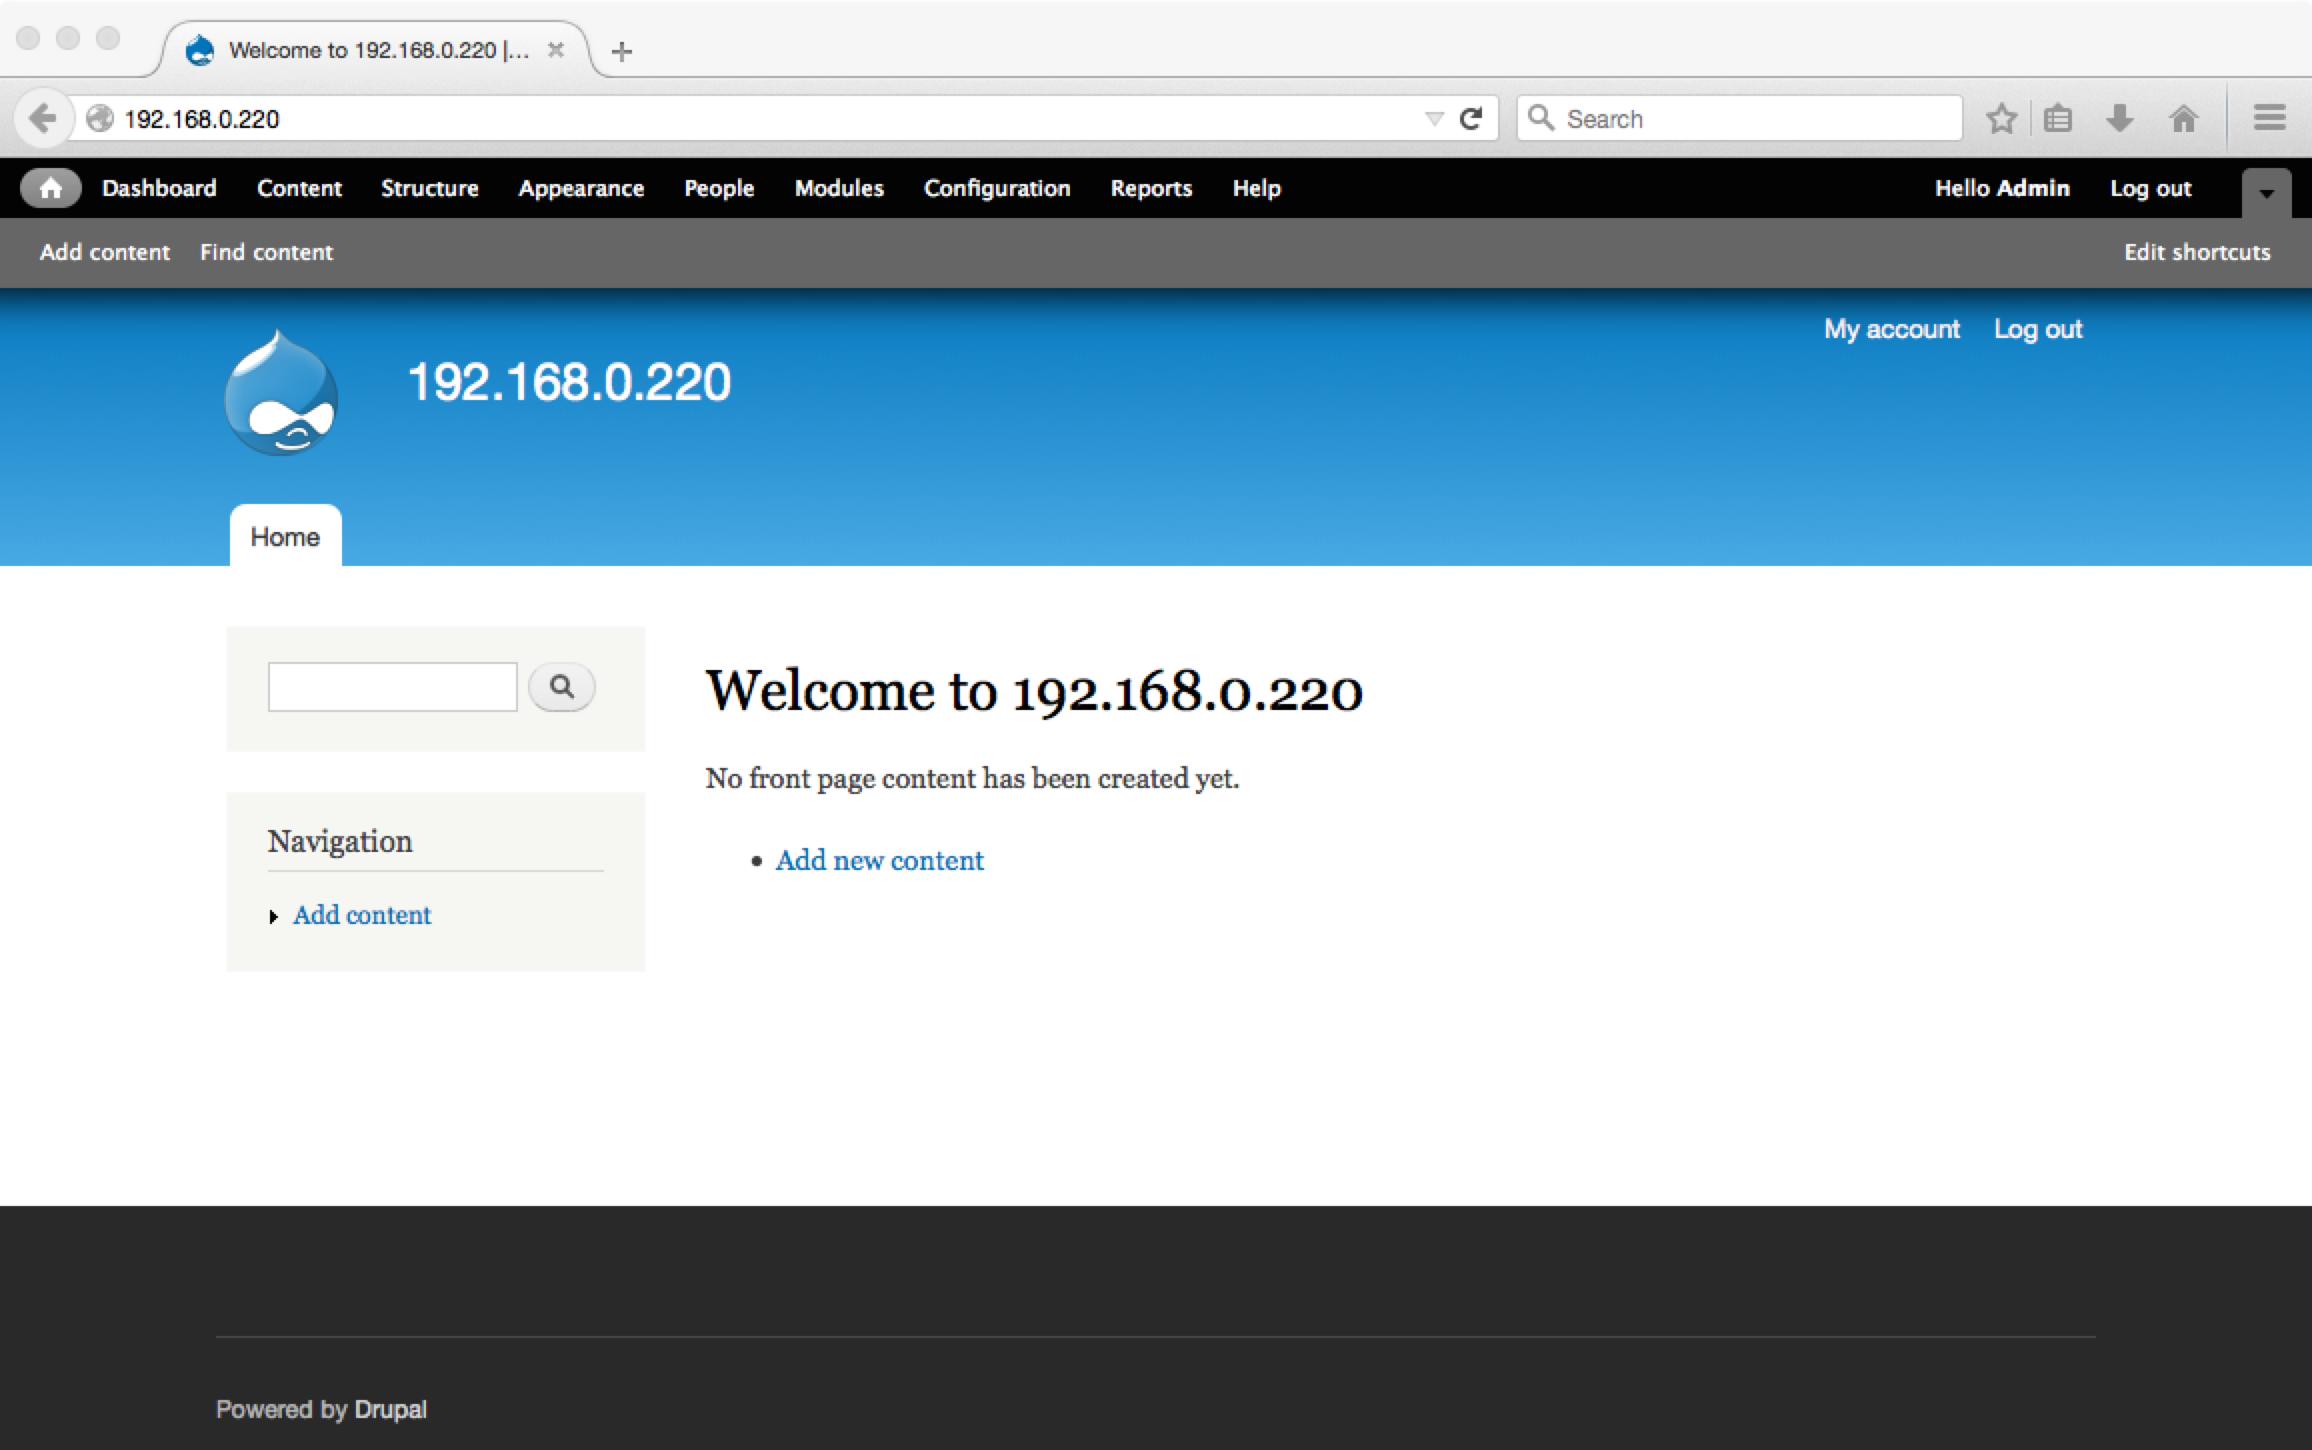
6. Initial Site Visit:
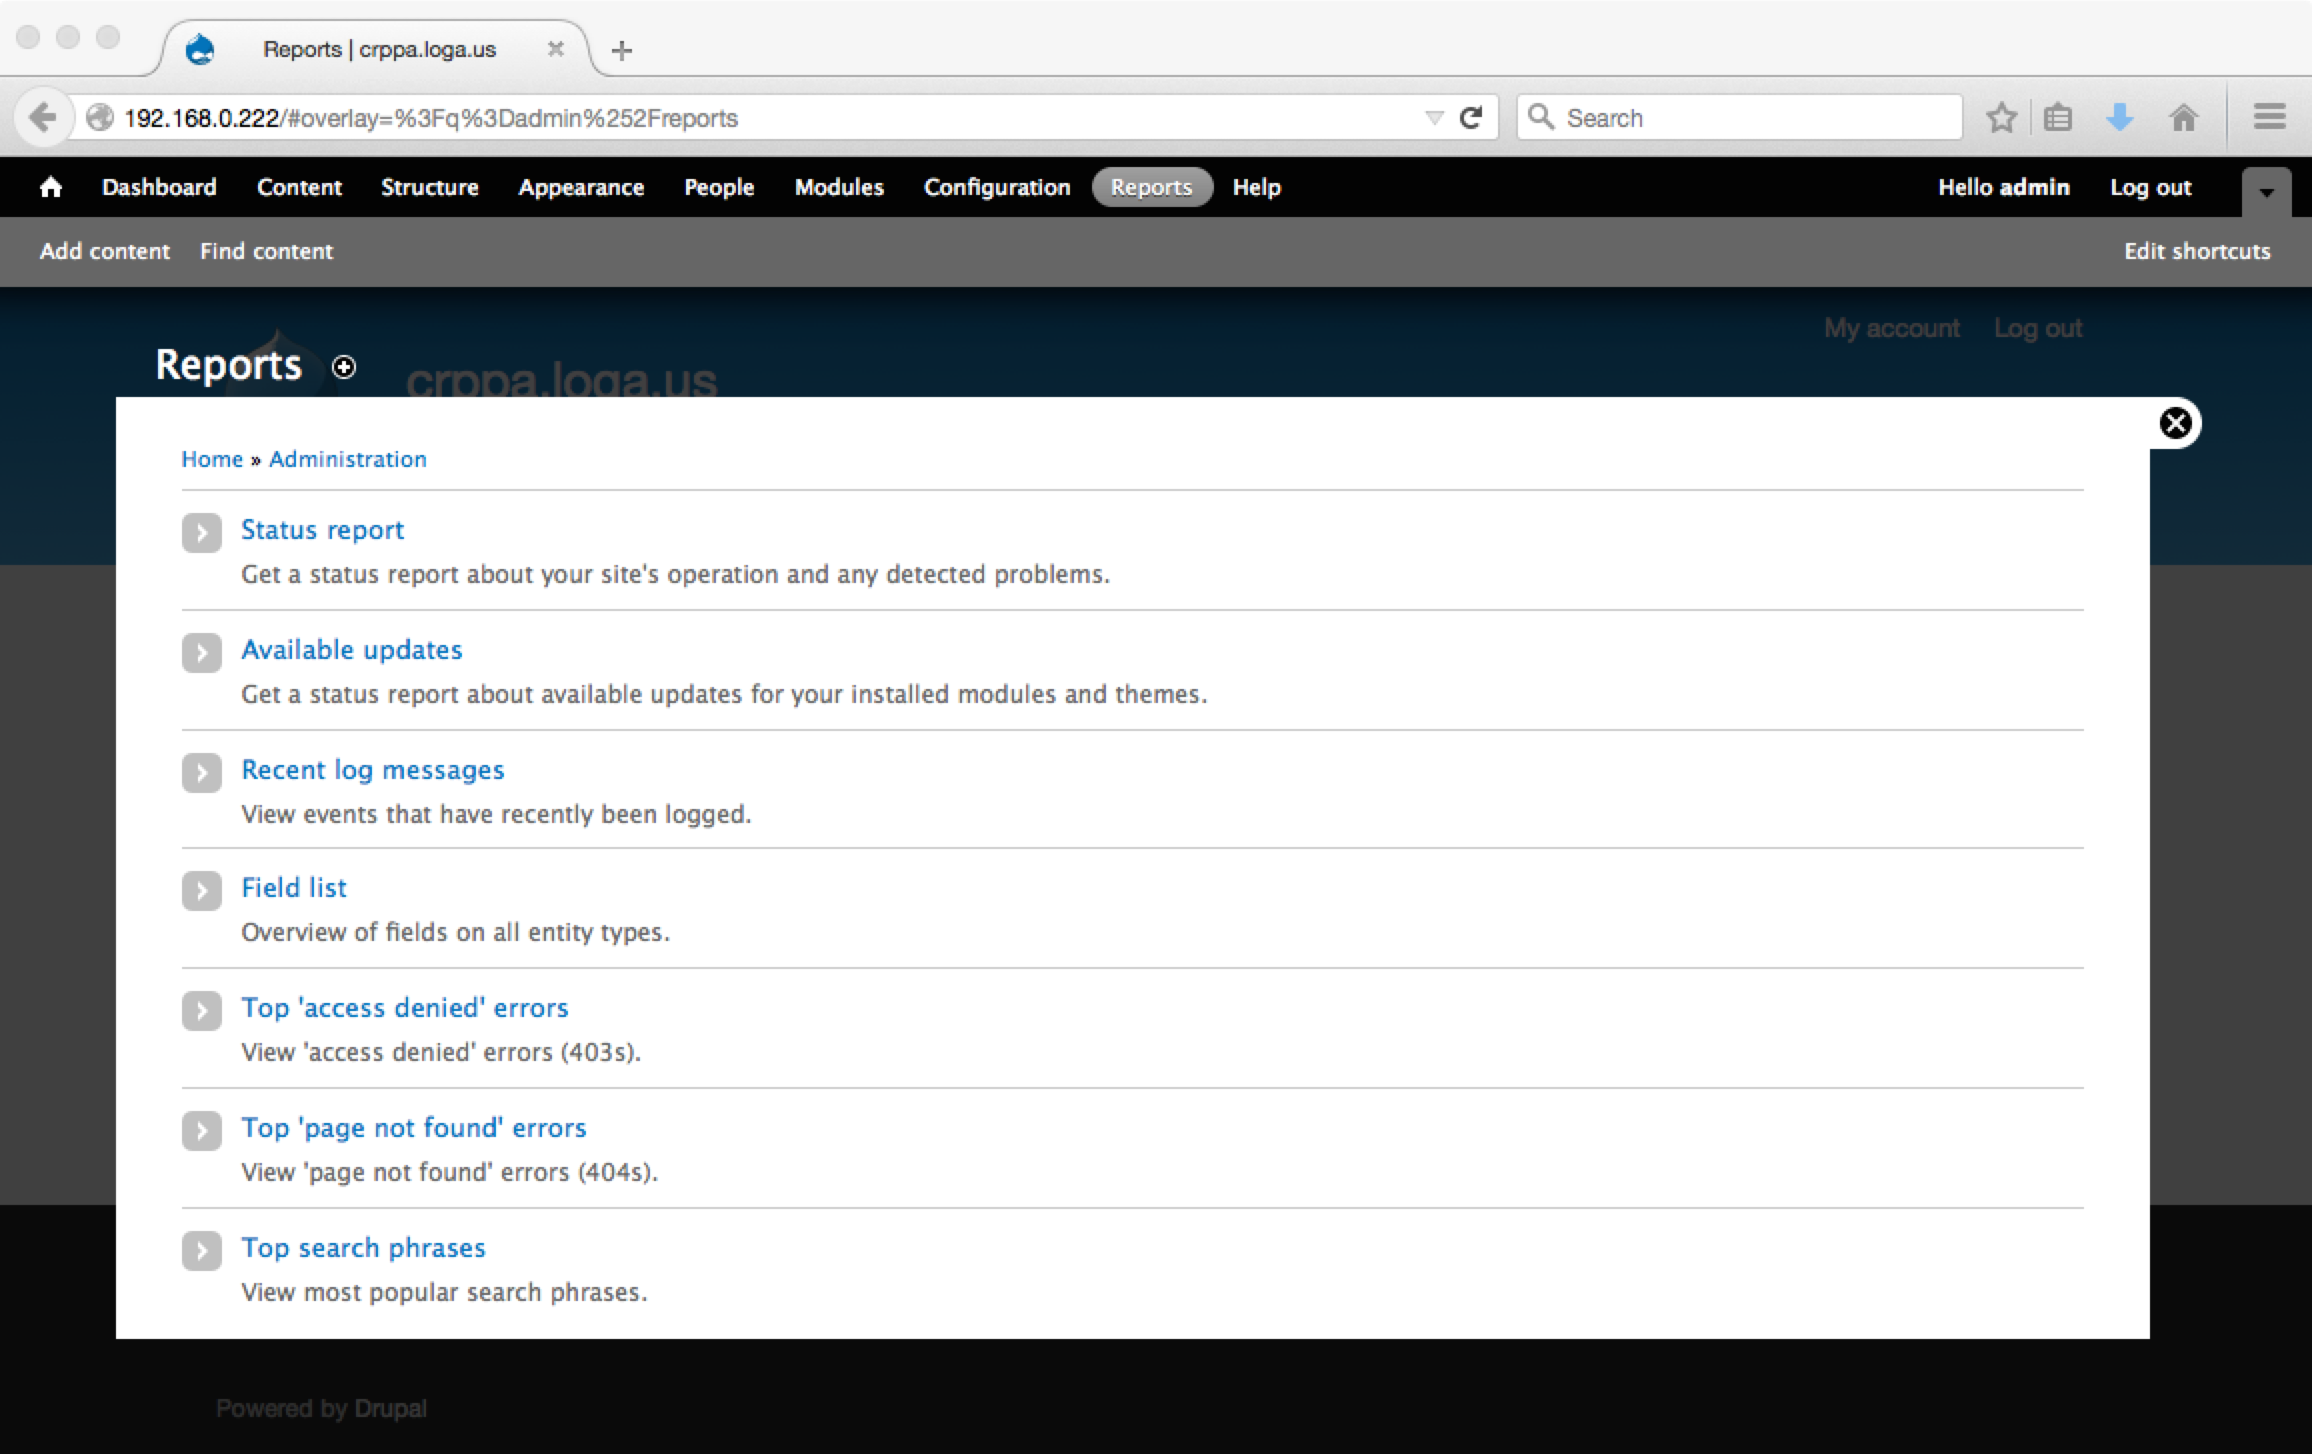
7. Check Status Reports:
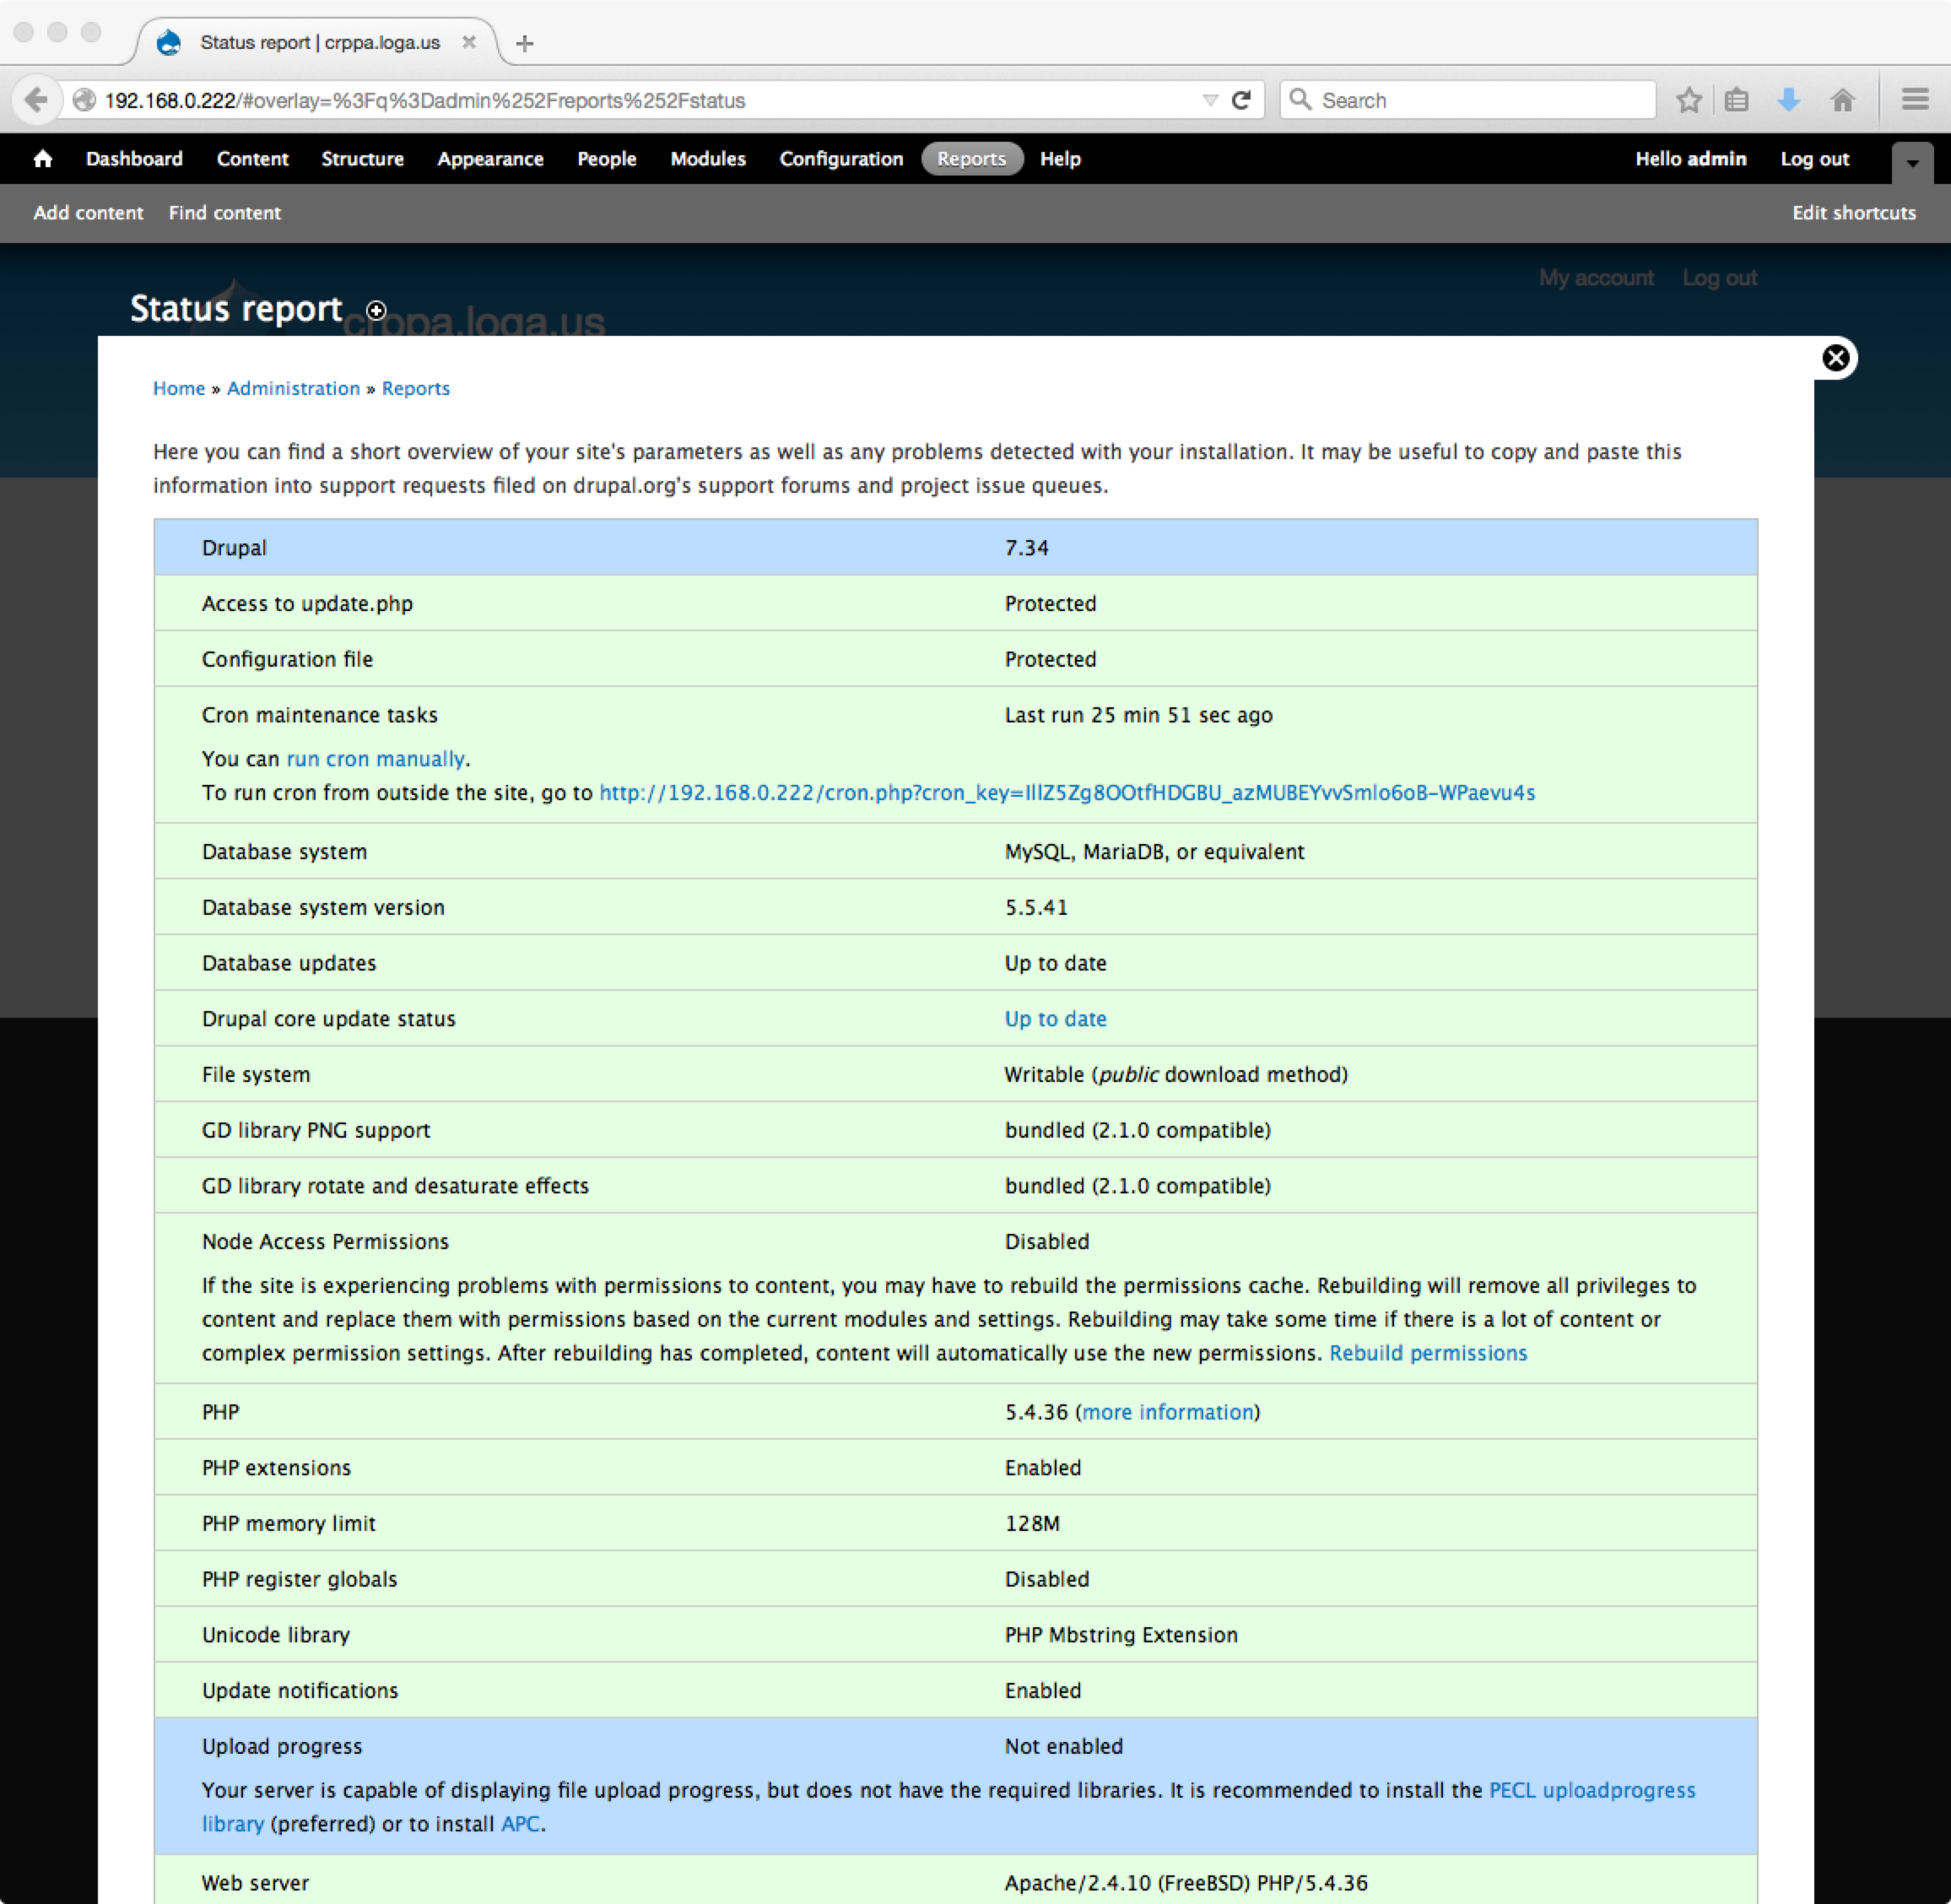
8. Report Options:
It is recommend to run cron manually by clicking the appropriate link in the report status page. Additionally,the server is capable of displaying the upload progress, but the necessary port is not installed.
To install pecl-uploadprogress:
# cd /usr/ports/devel/pecl-uploadprogress
# make install clean
# apachectl restart
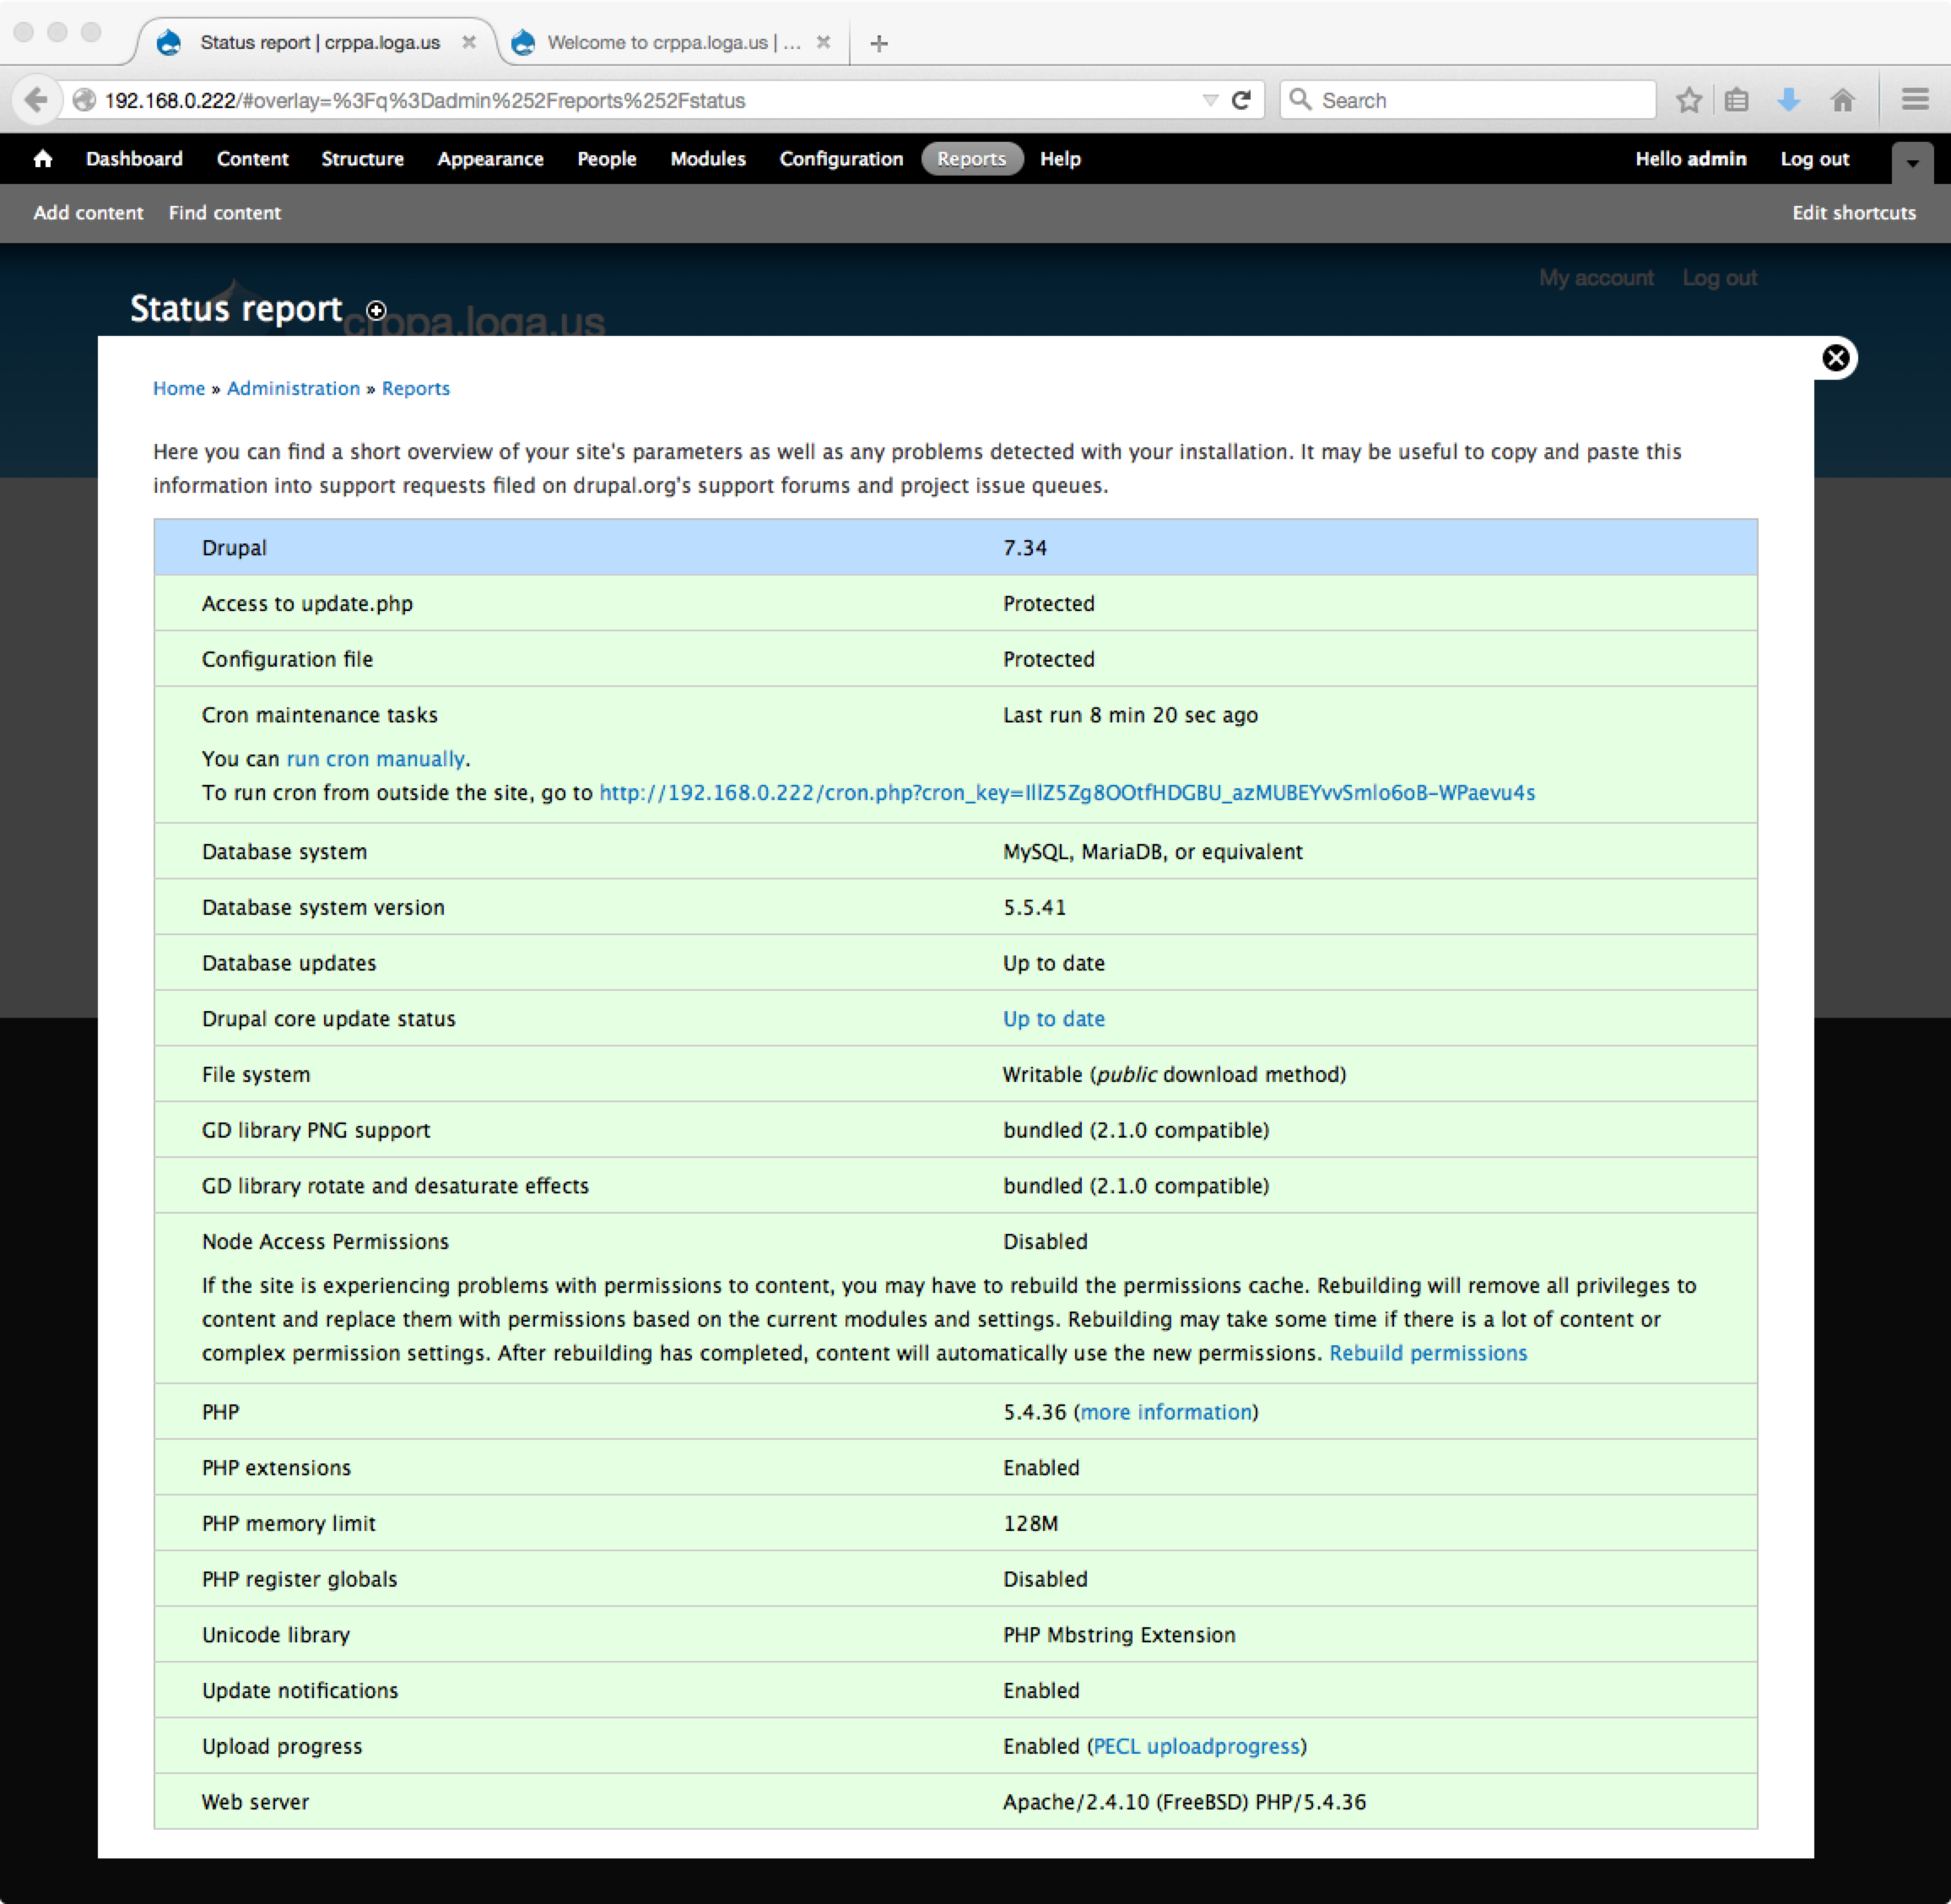
9. Clean Status Report:
Summary:
Installing and configuring Drupal 7 on a FreeBSD 10 Server is not difficult. In Part IV of this article, implementing ssl will be demonstrated.